Charley says don’t talk to stranger
This is a public safety animation called charley says don’t talk to strangers, the message it’s trying to get across is not to follow any strange adults that you don’t know.
The target age is aimed at children around the ages of 5-10. The way they delivered their message was by using the child as the narrator, translating what the cat (who is meant to be the authority figure) says about following strangers. The style and emotion they went for was very comical and silly style and feeling, in order to interest and not bore the age group, they show this in the style of animation, example like the animation the strangers legs and the way the characterise the cat as a goofy cat.
They give the cat Charlie this goofy personality in order to disguise an authority figure when the child is being told about strangers, they do this so the child viewer doesn’t sense the authority and rebel against it.
The narrative is a scene where Charlie and the child were playing in the park and a stranger approaches the child, asking to follow him if he wants to see puppies, but Charlie the cat stops him, telling him he should follow his parent’s advice about strangers. The child follows his advice and go backs with Charlie to his mother, and is rewarded with an apple and a fish.
They use the story in order to deliver a message to the target group of if you follow your parent’s instructions you will be rewarded. Conveying this positive feeling towards the message, which is meant to be on a serious and scary topic.
Unit 5
An intrograted approach to 2d problem solving in art & design
Teenagers learn to swim
This is a public safety animation called teenagers learned to swim, in the short film, the narrative is about a female character that starts to talk about how her boyfriend Dave is able to do anything. She finds out he can’t swim and disappears with another man called mike who can “swim like a fish”.
They did this to combat the incidents of young people drowning
The message they tried to get across is that all young people should be able to swim. The propaganda type technique they used to deliver there message was to shame viewers who could not swim, and get the message of ‘ if you cant swim your a failure’ they conveyed this with the narrative of how the girl left the guy
Dave because he could not swim, and how the character you should learn how to swim, this shows they used the feeling of embarrassment as technique of shaming to make people feel they need to learn how to swim otherwise they would be a failure.
The narrator was the young girl who was talking about Dave, they characterize here she very choosy person who wants a boyfriend with no faults and this is how they show the expectations of people and how the public will reject you if you cant swim. Techniques they used to capture the target audience attention of young adults (16-19) way to keep it as cartoons but make the character style more human like in order to make he character feel relatable to them.
Charlie falls in water.
This is a public safety animation called Charlie’s falls in water, the narrative is a young child and Charlie the cat are with the child’s father while he is fishing, they started wondering off and having fun in puddles, Charlie tried to take an “extra big jump” but landed in the water, he almost drowned, luckily the Childs father fished him out of the water. At the end Charlie gave advice on how you should always stay close with a parental figure or carer to stay safe. The message they tried to get across was to make sure to stay to a parental figure or carer to make sure you stay safe; they used the narrator to convey this message by translating the cat’s advice about staying close to your carer,
They characterized Charlie the cat as a silly cat in order to disguise him from being an authority figure that tells you what to do. They do this so young children will not feel threatened and being tolled off also will feel happy toward the cat. The technique they used to get their message across was to show the consequence of Charlie the cats action and he was wet and cold at the end and how he regrets his actions, giving advice to the viewers, this animation is aimed at young children by the way is very simple and seems quit childish and cartoonish, this will help attract the audience and keep them interested
Character design
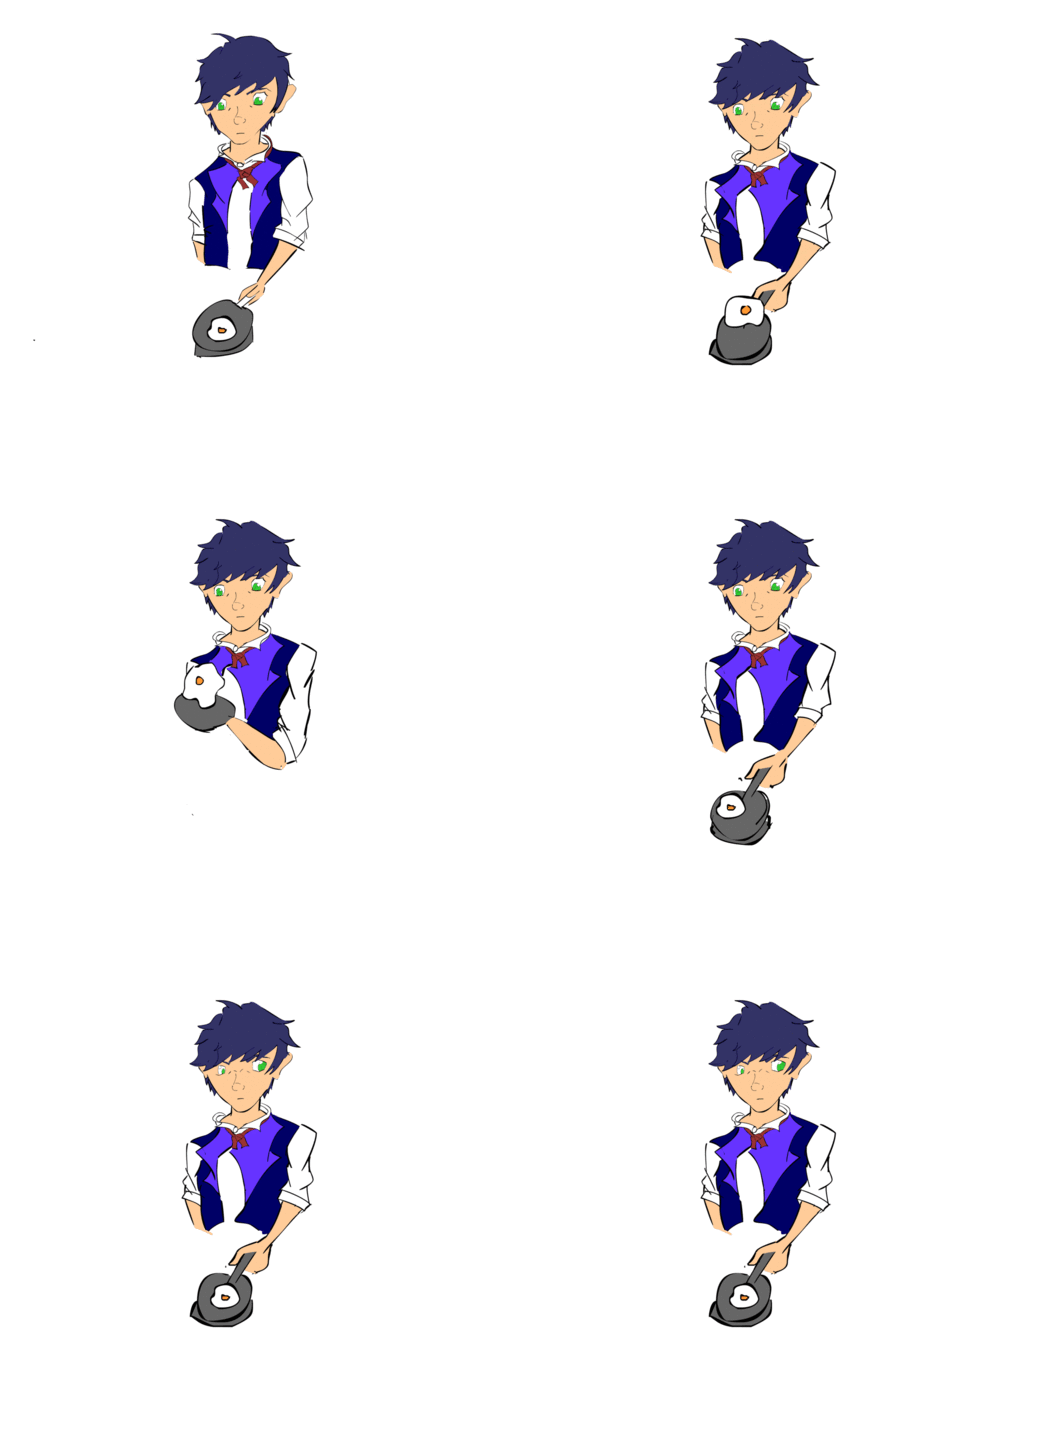
On the right side is one of my two main characters. This is the character jimmy, he is the older brother and parental figure in this animation his role in the animation is to seem as the responsible figure in the animation, I tried to show this in his outfit, very smart formal clothing. Also he seem responsible at first, but reveals himself as quite reckless person, I show this in his action and also how his outfitters worn, (sleeves rolled up tie messy). I also made him look quite young to help people recognize him to be the reckless type as they usually stereotype young people as reckless. His outfit and look help me characterize jimmy and help not only give people initial impression, but also secretly show his true persona


Background
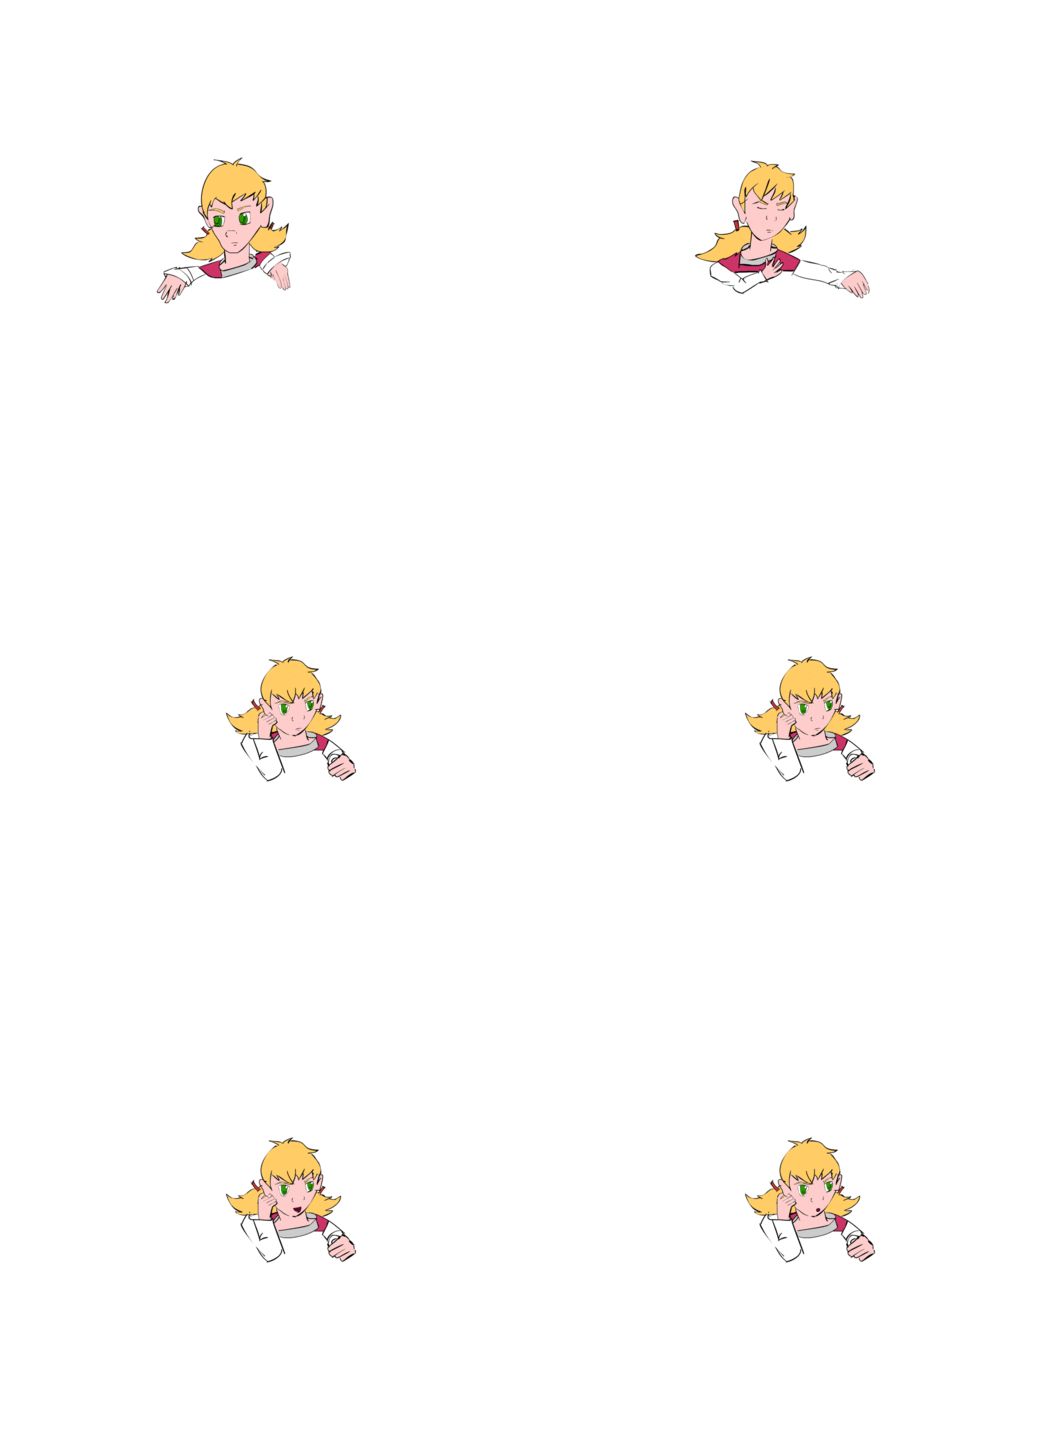
An on the left side we have my second character Kimmy. I characterized her as the innocent but responsible one. I chose to make her look like a small child to give her innocent look and make people think she just a kid. In my animation she will be the character who will be delivering the safety message, I will doing this being this delivering the message when she speaks, and how she tells her big brother about being careful while cooking. For both character I added a lot of detail and because of this I would have to refrain from big movement animations. I designed these character as a sketch and then scanned and edited in Photoshop
This is my animation background; the scene is in a kitchen. I decided to hand draw it straight into Photoshop as I wanted that hand drawn cartoony look to my background. What I first did is I draw the rough lines of the kitchen in flash, I then exported it Photoshop where I coloured and shaded the background.
The reason why is did this is because, I feel Photoshop was a more useful and faster programmed for me to use. As I already was familiarized with it in unit one, I felt it would of better for to finish it in a program I'm used to then to do it in flash to save time. Also both program are owned by adobe so they compatible when exporting to one another
And I then imported it back into flash ready to use. As this is in a weird angle, I will make more background of the same scene just in a different background. Things I could of improved was the line work and quality of the drawing. I feel that I could of improved the background overall if I drawn it more carefully. I also thing the colouring is could of been done more better as well.

rotoscoping
Animation technuiqes
This is one animation technique we learnt in class. the name of the technique is called Rotoscoping, Rotoscoping is a techniques where you trace over live footage and like key frame animation you draw or trace the footage frame by frame getting a more a life like fluidity to your animation.
it invented was by cartoonist/illustrator/writer/inventor Max Fleischer he used it in his animation series out of the inkwell.
One famous title where the animators used Rotoscoping was snow white and the seven dwarfs. The animators filmed American dancer Marge Champion as she danced as waltz around, and with Rotoscoping, Marge’s movement later became snow whites movement.
Rotoscoping is a good technique when you want your character to have fluid realistic movements like the dancing in snow white, which would be very hard to accomplish by hand even with a reference video.
One con with Rotoscoping is very time consuming due to the facts of the sheer amount of frames you have to trace over. Unlike key frame where you can cut the amount of frames to get that snappy cartoony movement, you have to trace all the frames to get that fluid movement.
Keyframe animation

This is another animation technique, its called key frame animation. Out of all animation techniques I’ve experimented with, this is the closest to traditional hand drawn animation. Like traditional animation key frame is technique where the animator draws the each frame where change of position or movement takes place.
You would first draw the 'key frames’, which are the main positions that will be held by the character and seen the most. These are the main part of the animation and each key is usually quite extreme from one position to another. The next step is to add all the in between frames, this is too add life to the key frame and give the illusion of movement.
Iconic animations that use key frame are animation such as gurtie the dinosaur, which was the world first key frame animation. Also many animated movies from the Disney franchise, such as lion king, mulan and beauty and the beast.
Key frame animation looks to be quite quick and snappy, that is to make look as if its fluid and also helps save time you don’t have to draw as many frames to get that snappy movement.
This is the technique I will mainly be using in my own animation, due to the fact i want that snappy and fast movement in the characters to really give it that traditional animation feel
Final animation


story board
Animation Progression
character animation
scene camera angel


I'm a paragraph. Click here to add your own text and edit me. I’m a great place for you to tell a story and let your users know a little more about you.

Tweens
Scene 1: The first scene is an establishing shot, introducing both of the characters. It will be a wide a shot of the scene (kitchen). Which will have a still of the first character with a voice introducing who he is. There will be a quick animation of the second character jumping, with a voice introducing her. For my animation I have decided to use key frame animation solely.
Scene 2: The next scene is a close up shot of the character kimmy, will have an narration voice over explaining how she wants to help her brother then have a voice for the character and animation of her turning toward her brother asking him to help, I wont have the other character in the show but she will be facing his direction so audience will assume that the other character is there.
Scene 3: The third scene is another close up shot but of the character jimmy denying kimmy request while being animated flipping an egg to show he trying to concentrate on cooking.
Scene 4: The fourth scene I would have the same shot as the second scene (close up on the character kimmy) in this scene it will have animated movement of the. Of her pouting, then I will hold one frame for a couple seconds until I animated her jumping and warning her brother of the fire.
Scene 5: will be a high angle shot of the character from behind, it will be a wide shot so both character will be in it. It will have the character jimmy jumping out the way of fire swinging his hand away from the pan.
Scene 6: will be another close up shot of jimmy, as he holding his hand, and asking if kimmy help.
Scene 7: will be another close up shot of kimmy, as she is angry with her brother. she holds a pose as voice over of jimmy of screen plays and then she accepts his other. Then the credits with a message about fire safety.
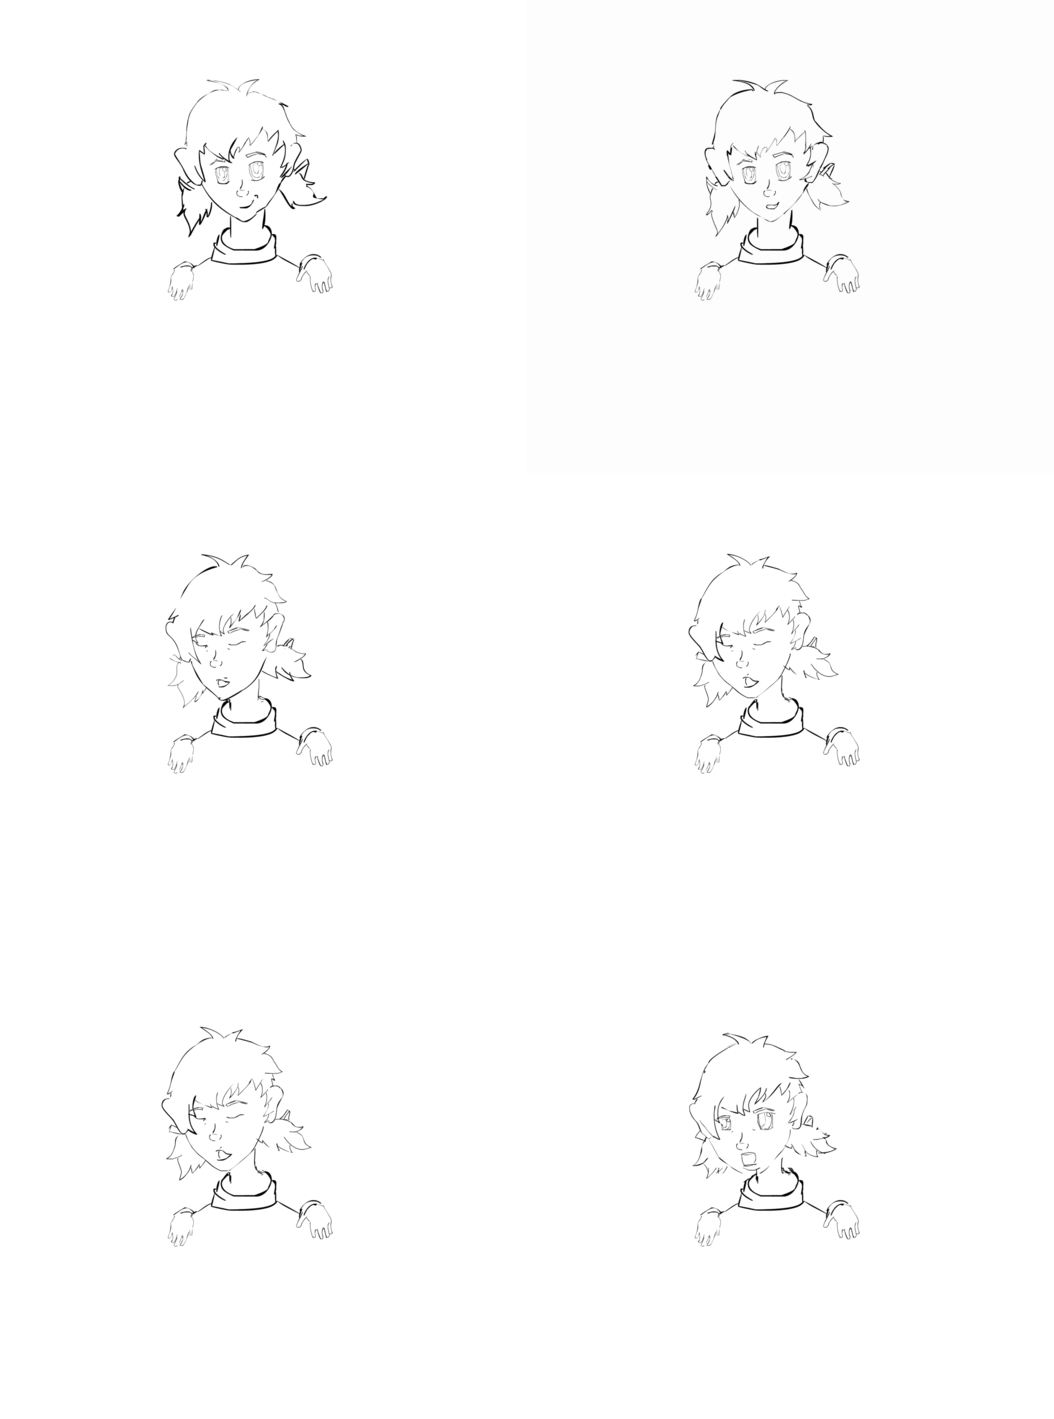
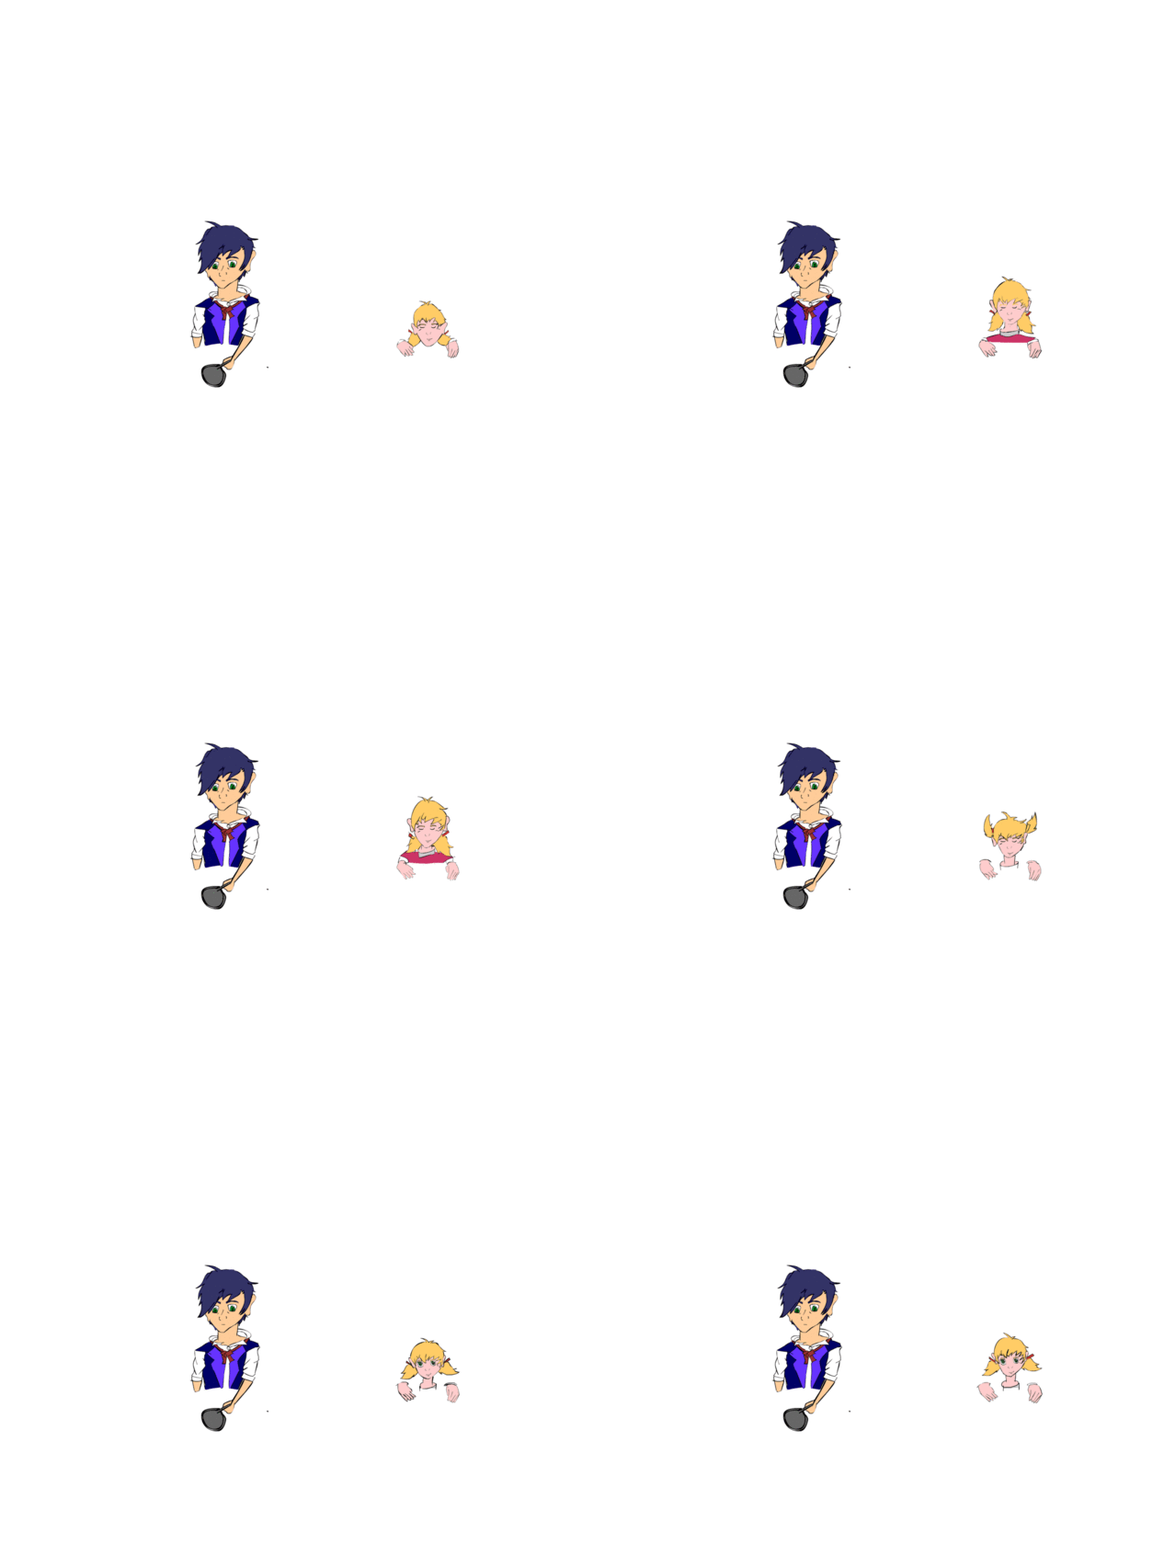
What I did is I split the animation into two main process, first character animation and then scene background angle. As you can see on the left are parts of character animation. And on the right I have the scene camera shot the animation will be in, I started off by designing and colouring the background in flash and then sketching the initial movement of the character animation, I used simple shapes like circles to signify the body parts like the head and body.
After I have the background and initial animation done I will start to draw the character details with the pencil tool, I would split these up into different animation layers, so first I would draw the body details around the outline of the initial character animation, then draw the details of the head such as the hair and outline of the face in a different layer, I added then new layers of different parts of the face like the eyes and mouth, I split up the character features into different because it’s a good way to be efficient and its easier to get the features the same if you draw them in one sitting rather than having to draw the whole character with all features frame by frame. After I finish the details, I would go other them with the paintbrush tool to finalise the line for the character. After the finalising the line work I would colour the character frame by frame. Below are other examples of this.
con: the main negative about using shape tweens is that you can only really create simple animation with the function, as the computer creates the in-between frames it only guesses how you want it object to move based on the two key frames, although you can adjust this slightly with the motion options, when doing intricate animation you're better off using key frame or rotoscope. another negative when using key frame is that especially with character animations, there's no 'snap'. animation should have this quick but fluid snappy movement to it. but when using tween you get the slow drifting movement.
short for in-between animation, tweening is a technique where the computer generates the in-between frames of the two key frames, what would normally be done by a person, there are 2 types of tweens that you are able to use in flash.
Classic Tween: the first one is a classic tween, this tween simply takes two key frames which are in two positions and generates the same image over and over again in different positions as in-between frames to until you have a smooth movement of the object moving. This is good for simple animation like a ball moving across the screen
Shape tween: a shape tween (like the classic) generates the in-betweens the of two key frames, but this function deals with shapes, with this tween you can create and animation where a shape changes into another
Pros: there are good aspects when using tweens, the main is time saving, creating a tween is very fast compared to key frame or rotoscope animation, what would take 30 frames for someone to draw when doing key frame would only takes 2 key frames and the tween function to do, which could save the animator a lot of time. The second positive when using tween is that the animation would be very fluid and smooth due to the fact the computer can generated the object and position it far more accurately than people can.
This is my final animation for my fire safety animation project .
My animation is about two characters (jimmy and jimmy) cooking in the kitchen, the sister kimmy wanted to help cook, as she asks, jimmy refuses thinking she is too irresponsible. later it turns out she is the more responsible one out of the two warning jimmy about the fire and getting him to apologies for misjudging her.
Influences:
things that influenced when creating my animation was mainly the British public safety animations that I researched at the start of the project, what I took from them was away to layout the and present my story in a way to get the message of fire safety across to the viewer. it has also help gain an understanding of techniques to help influencing the viewing, things such as using guilt or fear to get the viewer attention and take the animation more seriously, I will be using this while masking these emotions behind the childish and friendly characterization I gave to my characters. Examples of where I’ve seen this are the 'charley says' animations, how they hide the emotion of guilt behind the goofy character of charley the cat. Influences for the character style are from couple of animation styles such as Walt Disney's classic traditional animation and some anime styles. These influence me because both of these styles are popular and attractive to the younger audience, which we are targeting. I show what I took form my influences in the characterization of my characters; I used the art styles to hide my characters true personalities. Examples are how kimmy looks like the small child, who is really the responsible one. I also used the technique of using guilt and fear of getting your hand burnt to influence the viewer emotions.
Production:
The main animation technique I used was key frame animation, the reason why I used this is because I wanted to simulate the same cartoony and snappy movement you see in the old Disney cartoons like Mickey mouse and others, in order to get the animation to appeal to the target audience (10-12 year olds). This look of animation, I think can only be achieved with key frame animation. The way I presented the animation if with simple shots of close ups of the character, the reason I did this was to help the viewer to find a focal point and help them focus on what I want them to look at, this will help get my message get across. The program we used was adobe flash and I used basic tools such as colour, paint bucket and brush tool tools in order to draw and colour my animations.
What went well?
The main thing I think that well with my animation was the animation of the characters, I think I achieved that quick snappy traditional cartoony style I was aiming for, even with a few mistakes such as the consistency in the characters look, overall I think the animation worked well with the style I was going for. Another thing I did well was the characterization and hidden messages that was being told, I think that characters help deliver other messages than fire safety, such 'not not misjudge someone, this is shown when jimmy apologies for not letting jimmy help.
What could of gone better:
The main thing I think I could of improved on was the layout of the story, I think that there some aspects which may not of been clear in the animation such as where did the fire start from or why did jimmy did not let kimmy help in the first place, the way I could of improved on this is by thinking of a way to connect the events and laying out a more developed story board. Another main aspect that I could improve on was time management. Much of the production process is already very time consuming but when beginning to use flash, I tended to be exploring and learning the program and how it worked while creating my animation, this lead to me doing mistakes which consumed a lot more time than needed be, I then had to compromise quality of work produced in order to reach the deadlines, effecting the animation itself. By improving my work efficiency it will help my time management, another thing that can be improved is my video editing skills, I could improve this by watching tutorials and learning from the class how to do this. This it will help make the animation look more polished and professional.
External criticism: I asked an individual to watch my animation and then asked a couple questioned to see if they, got the message that I was trying to portray in the animation and what emotions such as guilt ect they got from it.
What message did you get from this animation?
"Safety when cooking, and brother and sister relationships".
Did you feel any emotions such as guilt when watching?
"No"
What role did kimmy had in the animation?
"She was the responsible role model "
What age group do you think this is suitable for?
"Kids to pre teens"
As you can see that some aspects such as the message has successes in getting across to the audience also the characterization was clear to the audience, but some aspects such as my attempts of making them feel emotion like guilt has failed showing that the storytelling could be improved in order to achieve this


